By: Bridger Cottle, Owner/President of Drilling Fluids Solutions
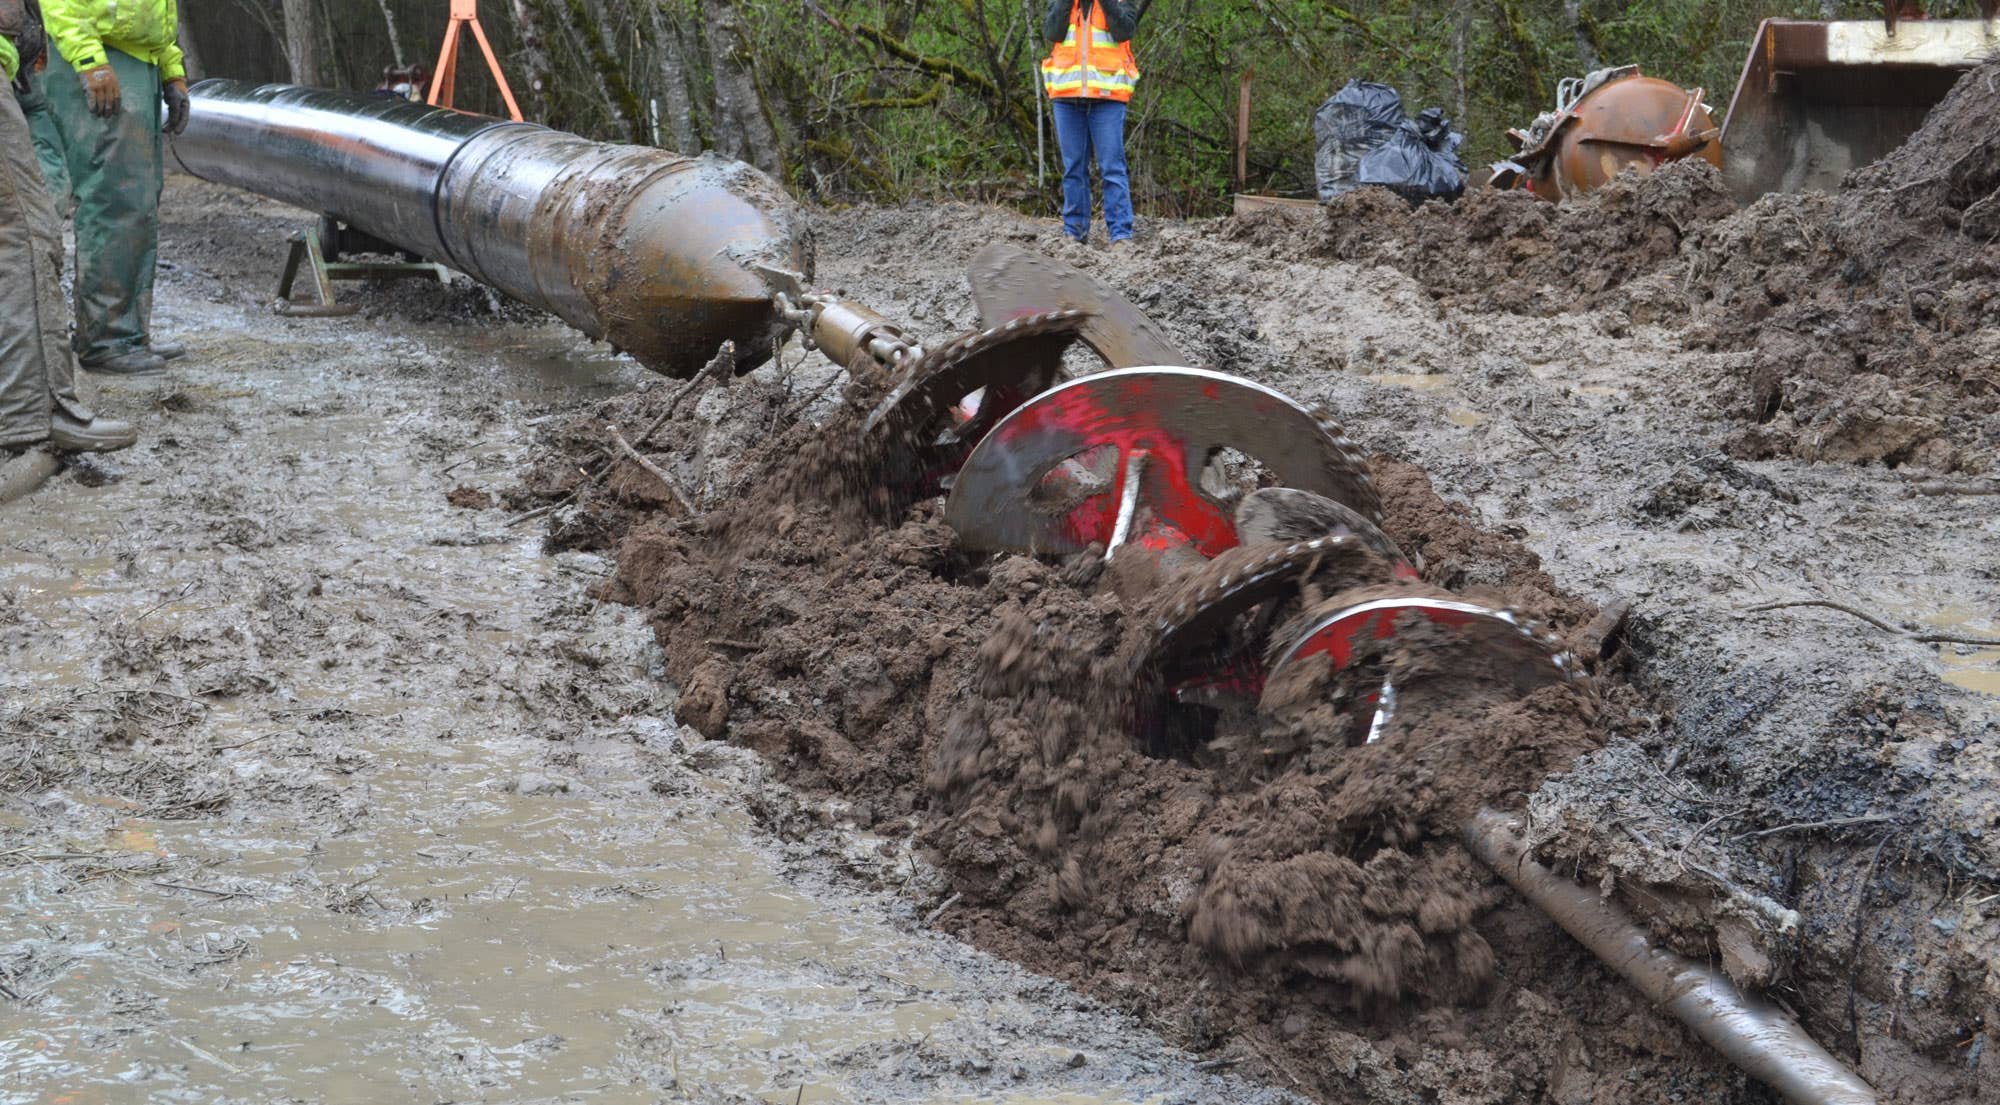
Every driller who has ever tried to use a backreamer in clay knows that things can go south fast. Use the wrong type of reamer or try to rush your job and you end up with a balled-up reamer that feels like trying to pull a giant golf ball out through the hole. Check out How to Properly Measure Your Reamer and Choose the Right Size for the Job to make sure you are using the right size reamer for your job. 99% of the time, problems when drilling in clay can be traced back to two things: using the wrong tool, or using the tool wrong. In this article, I’ll outline the tools and techniques you should be using to make sure you don’t get stuck in the mud. Or in this case, clay.
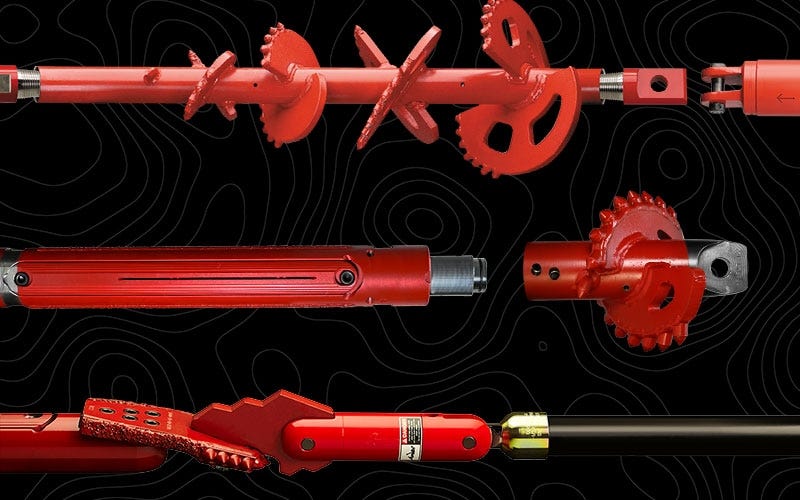
The right reamer
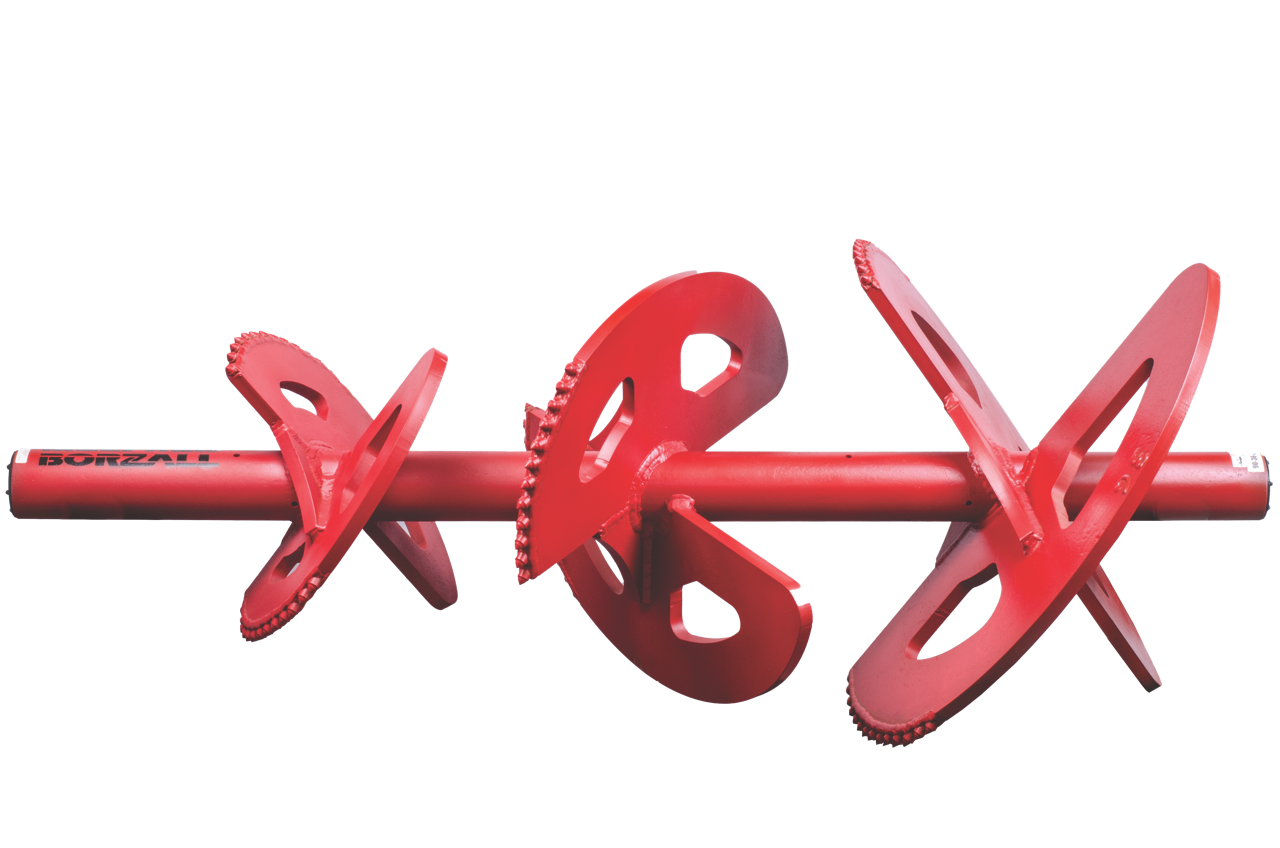
Clay has the smallest particle size of any soil type, so it tends to be dense. This density opens up a little when the clay gets wet. Your backreamer should help to facilitate this. If you’re using the properly designed reamer, it should act like a giant blender when spinning at 120+ rpm. This spinning action intermingles the clay and the mud in your hole, creating a material with less density overall. Lower the density, and you lower the risk of balling up. Melfred Borzall’s Tornado reamer is excellent for clay. The shape, angle, and placement of the Tornado’s blades provide this blender-type action, with the added benefit of pumping the slurry to the back of the hole. As a result, the liquid is constantly being whisked in with your clay, so there’s less chance of the material hardening as you drill.
One of the biggest mistakes I’ve seen drillers make is trying to get away with using a reamer that isn’t specially designed to mix clay. They’ll say, “This is a small job, so let’s just use a 12-inch fluted reamer.” The problem is that a standard fluted reamer has more surface area, so there’s more for the clay to stick to. It lacks the blending action required to incorporate the clay into the mud. Of course, even a great tool may not always be the total solution. Depending on the soil’s reactivity (that is, the plasticity of the clay), and the presence of contaminants like calcium, you’ll need to step up your game to increase slipperiness. That’s where the chemicals come in.
Soaps & detergent solutions
The go-to for many drillers is to throw more bentonite into the tank. But this would be a mistake because you’ll add clay to clay – both want water. Detergents make “water wetter” by increasing the water’s surface tension. This allows the clay to absorb more water more efficiently, too. You want this to help incorporate the clay into your fluid. If you see clay come up across your shakers or clinging to your bit or backreamer, throw some specially formulated HDD detergent into your fluid tank. I recommend Melfred Borzall’s Drill Klean Plus™ or Cetco’s Drill-Terge™. These solutions are neither cationic or anionic (meaning no chemical charge), so they don’t interfere with any of the properties of the clay or your drill fluid. Always read the directions on the side of the jug, but a good rule of thumb is to add about a quart of solution per hundred gallons–or 2.5 gallons (½ a jug) to a thousand-gallon tank. Remember not to overdo it; your solution will get foam everywhere, making it a pain to clean up. If the soap doesn’t seem to be doing the trick and you’re still getting thick returns, your torque is going up, and things are starting to get a little scary, grab some Slik-Vis™, which is partially-hydrolyzed polyacrylamide (PHPA). This stuff is thick and resembles Elmer’s glue, but it will jump your funnel viscosity fast. Since it’s like liquefied plastic, it forms a barrier preventing the clay in the ground from integrating with your mud. Add Slik-Vis in very small doses–about a pint or 8- to 16-oz. water bottle for every thousand gallons. Remember to always mix it in last. You don’t want it to strip out the bentonite you’ve already added to the system.
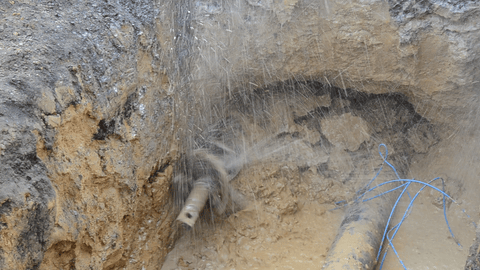
How to know if you’re in clay
Always do viscosity tests on your returns. You know you're in a clay situation if you’re on a thousand-gallon tank and your returns are substantially thicker than the original fluid you were pumping. Returns that come back thinner indicate that you’re in some kind of groundwater or wet sand. You’d also be surprised what you can tell simply from looking at your return mud and feeling it with your hands. Inspecting the chunks you find in this mud can give you a pretty accurate sense of the type of material you’re in, from clay to sand to shells. One final trick is to grab a chunk of mud from your backreamer and roll it in your palms to make a little snake-like shape. If the “snake” holds together, it’s over 50% clay. Clay situations can become worst-case scenarios for drillers. It’s a material that just seems to complicate things quickly. But each of these challenges has a solution. No clay will stand in your way with the right tools and the proper additives.
About the Author Bridger Cottle is the Owner and President of Drilling Fluids Solutions (DFS). DFS provides mud/slurry engineering, project design, mud training, and fluid program services for horizontal directional drilling, foundation drilling, direct pipe, slurry wall, micro tunneling, and tunnel boring machine leaders. DFS is not associated with any particular mud or slurry brand and has extensive experience with all major brands, providing education and expertise specific to each project.